One of my favorite seasons in the garden is strawberry season. I have to say that it is by far my favorite garden crop.
When I was a young girl I used to sit in my mom's strawberry patch and devour the strawberries. In high school I worked at a strawberry patch for a few summers as a picker in the morning and sales in the afternoon. I also consumed a bit of strawberries (and strawberry shortcake and strawberry smoothies!) there.
Now I have my own strawberry patch. And yes, I still sit in the middle of the patch and eat strawberries. Lots of them.
I have grown to know my habits though, so I have planted a big enough batch to support my in patch strawberry eating, to supply fresh strawberries for my kids to enjoy, and to have extras to preserve.

Strawberry season is now over, but for about 2 1/2 - 3 weeks, weather pending, I bring in a batch of strawberries like the ones pictured here every other day. (Not pictured are the cups of strawberries that I have eaten in the patch that day.) The best thing is that my patch is still expanding!
It takes around an hour or so to work through the patch to pick the berries. Remember, I pause often. When I get them into the house, I find a spot for them in my fridge until I can spend another hour or so preparing them, which is usually the opposite day of picking.
Last year I would freeze or preserve them as jam by the individual batch. This year, however, I have shaken things up a bit and separate out the larger berries for freezing and the smaller berries for jam within each batch. This has seemed to work out well for me.

To start with, I fill my sink with cold water and dump my berries in. I
swish them around a bit with my hands, drain the water, and repeat
until the water is clear. It usually only takes a couple of fills.

Next, I fill my strainer as much as possible to drain some water, followed by placing them in my salad spinner. I don't have too many kitchen gadgets in the house, but I do love my salad spinner. Not only does it help my garden lettuce to stay fresher longer, but it has made preserving all of my varieties of berries so much more efficient and improves their quality. (Especially the raspberries which hold water so well in their empty core.)

I spin the water off of the berries, one bowl at a time. As I remove them from the spinner, I destem them. I have tried many methods for destemming strawberries, including using many gadgets at the berry patch. My favorite method is by far using a thin baby spoon which quickly scrapes/pops off the tip with very little berry waste. The berries are then divided into a bowl for smaller berries and a bowl for larger berries. The smaller berries are placed back into the fridge until there is enough for a batch of jam, usually within another picking or two.

The next tool that I use is an egg slicer. This slicer quickly and evenly slices berries to the perfect size, and held upside down, it drops them right onto my pan for freezing. I could freeze them whole, but I have found that the berries don't get used up as quickly when they are sliced as you can get so many more berry bites with sliced berries.

For my freezing pans, I just cover cookie sheets with washed cereal box sacks. They are cheap (free), sturdy, and the berries come right off of them. As pictured, I spread my berries across the pan, being careful that they don't overlap much which helps them freeze individually.

I used to just flash freeze them to the point where the outer layer was
frozen, but I have changed to freezing them overnight to where they are
completely frozen. I have found that they are just easier to work with
this way. Once they are frozen, I simply crumple up the cereal bag from
the outside in, make a pile of berries in the middle, and then lightly
push on the pile with the cereal bag covering them in order to separate
any berries that have stuck together.
They then get put into sandwich baggies, 2 cups at a time. Just as I do when
canning my sweet corn and other veggies, these sandwich baggies get placed into a gallon freezer bag. This method allows me to grab out, or shake out, just the portion of berries that I want.
This year I froze a new record of 32 baggies, or around 64 cups, of strawberries. They will be enjoyed in our homemade oatmeal and occasionally over ice cream. I'm looking forward to freezing even more next year!
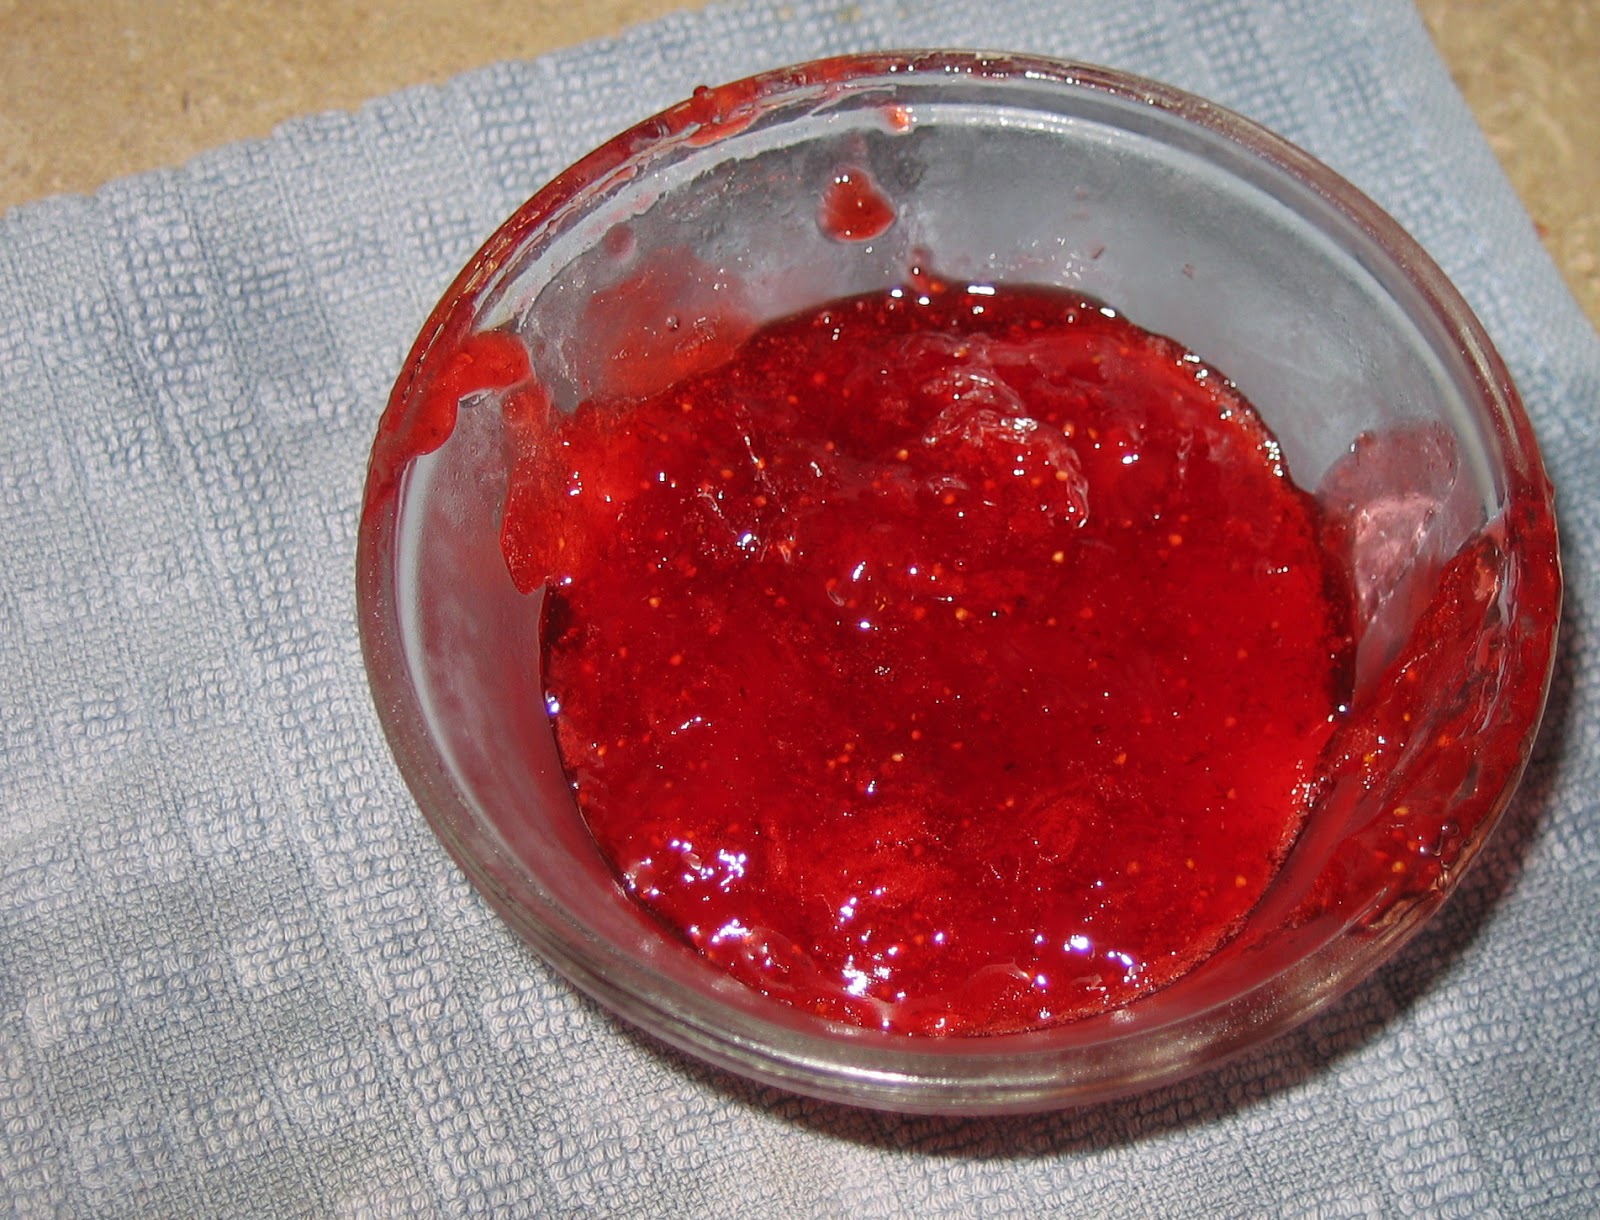
And then there is the jam. As I mentioned, the smaller berries get set aside and used for jam. This year I made 2 batches of strawberry jam, equaling 18 1/2 pints. I could have made another batch or two, but we had a big event coming up on the farm that needed my attention so we just ate the rest of the little berries, which was just fine!
You can find the instructions for jam making in any Sure-Gel packet, but
I thought I would just add some snap shots of my kids helping me and some basics of the
process.

Jonathan, my 3 year old did a great job helping smash the berries for me with a potato masher.
Isaac, our 5 year old, helped measure out the sugar needed. I have heard that when making jam you want to use 100% pure cane sugar and not sugar which includes beet sugar. Apparently, beet sugar does not allow the jam (or jelly) to set well, and it can end up runny. I've never experimented with the sugar which contains beet sugar, but the 100% cane sugar has always given me a nice set.
Once the berries were mashed and sugar measured, Hannah, our 8 year old, added in our packet of Sure-Gel to the berries.
The berries were then heated to a rolling boil, and then the sugar was quickly added in, returning everything to a rolling boil again for the appropriate amount of time. This is a step where I ask the kids to stay back since there is often some very hot splattering going on.
Once the cooking process was done, preheated jars were filled with jam.
Rims were wiped clean.
And heated lids and bands were placed on the jars as Hannah fished them out of the heated water.

The jars were then placed back into the pot to process which I had them heating in, this time filled with berry goodness.
And after their processing time was complete, they were pulled out to cool.
Once the jars were cool, I labeled them and had each of the kids who helped put their initials on the rim of the jar as well. As talked about in
a previous post, throughout the year, as we enjoy produce preserved from our farm, we acknowledge who all helped with the meals being served and remember the memories made, something that the kids now find great enjoyment in!
Usually, after strawberry season I am move right along to the next season of my garden. This year, however, there is a bit of a lull due to the garden getting in later than I would have liked - a combination of a rough 1st trimester of pregnancy, a challenging end to our home school year, and projects that needed to be accomplished on the farm outside of the garden.
As I try to remind myself often, I just need to be faithful with what I have been given and trust the Lord to provide in His own way through the areas and times that seem to be challenging as well as the times areas and times filled with ease. At least I know that this year I will get to enjoy the (strawberry) fruits of my labor!
Follow The Beginning Farmer's Wife on Facebook for additional personal peeks at building a family farm.
Tools of My Trade
I was given an egg slicer as a wedding present, and I don't think I have sliced more than a dozen hard boiled eggs with one. I have, however, sliced gallons upon gallons of strawberries to freeze and bananas to dehydrate with one. My original egg slicer broke a wire, and I tried to replace it with one from a nearby store which quickly broke as well. After reading many reviews, this slicer went on my Christmas list. It is a tad more expensive than others, but I give it heavy use and it is holding up great!
This little salad spinner is perfect for spinning water out of berries for freezing, which greatly improves the quality of the berries frozen. Not only that, but it is wonderful to spin batches of lettuce from the home garden, helping the lettuce to last longer in the fridge.

 Early this month was our county fair.
 Now that our oldest has finished 4th grade, however, fair has taken on a new twist since he is also in 4-H. If you've listened to Ethan's podcast that includes Caleb as a guest, you might have caught that we spent more or less an entire week at the county fair mid July as Caleb took took in his projects and showed sheep, chickens, and rabbits, adding in the daily chores at the fair too. Even though we have made sure that what Caleb takes and shows reflects his work, Ethan can now be a "fair dad" in those barns even though he didn't get to be a "fair kid".
  I do have to say, that fair is much more enjoyable when you have someone you know showing things there - especially when it is your kid. And I will admit that I really didn't mind hanging out at fair so much this year, and I did spend quite a bit of time in the livestock barns too.
 And to also add a bit more draw for me, I discovered that there is a building previously hidden from me on the fair grounds for open class entries - a place where you can take various homemaking items to be judged for awards. I found out about this last minute, but I was able to dig through my closets and pantry to grab a few things to enter that I had worked on over the year, many of which received placings.
 Still, I think the best part of county fair is the time spent with my family, and now also seeing our kids enjoy taking part in fair with their interests.


