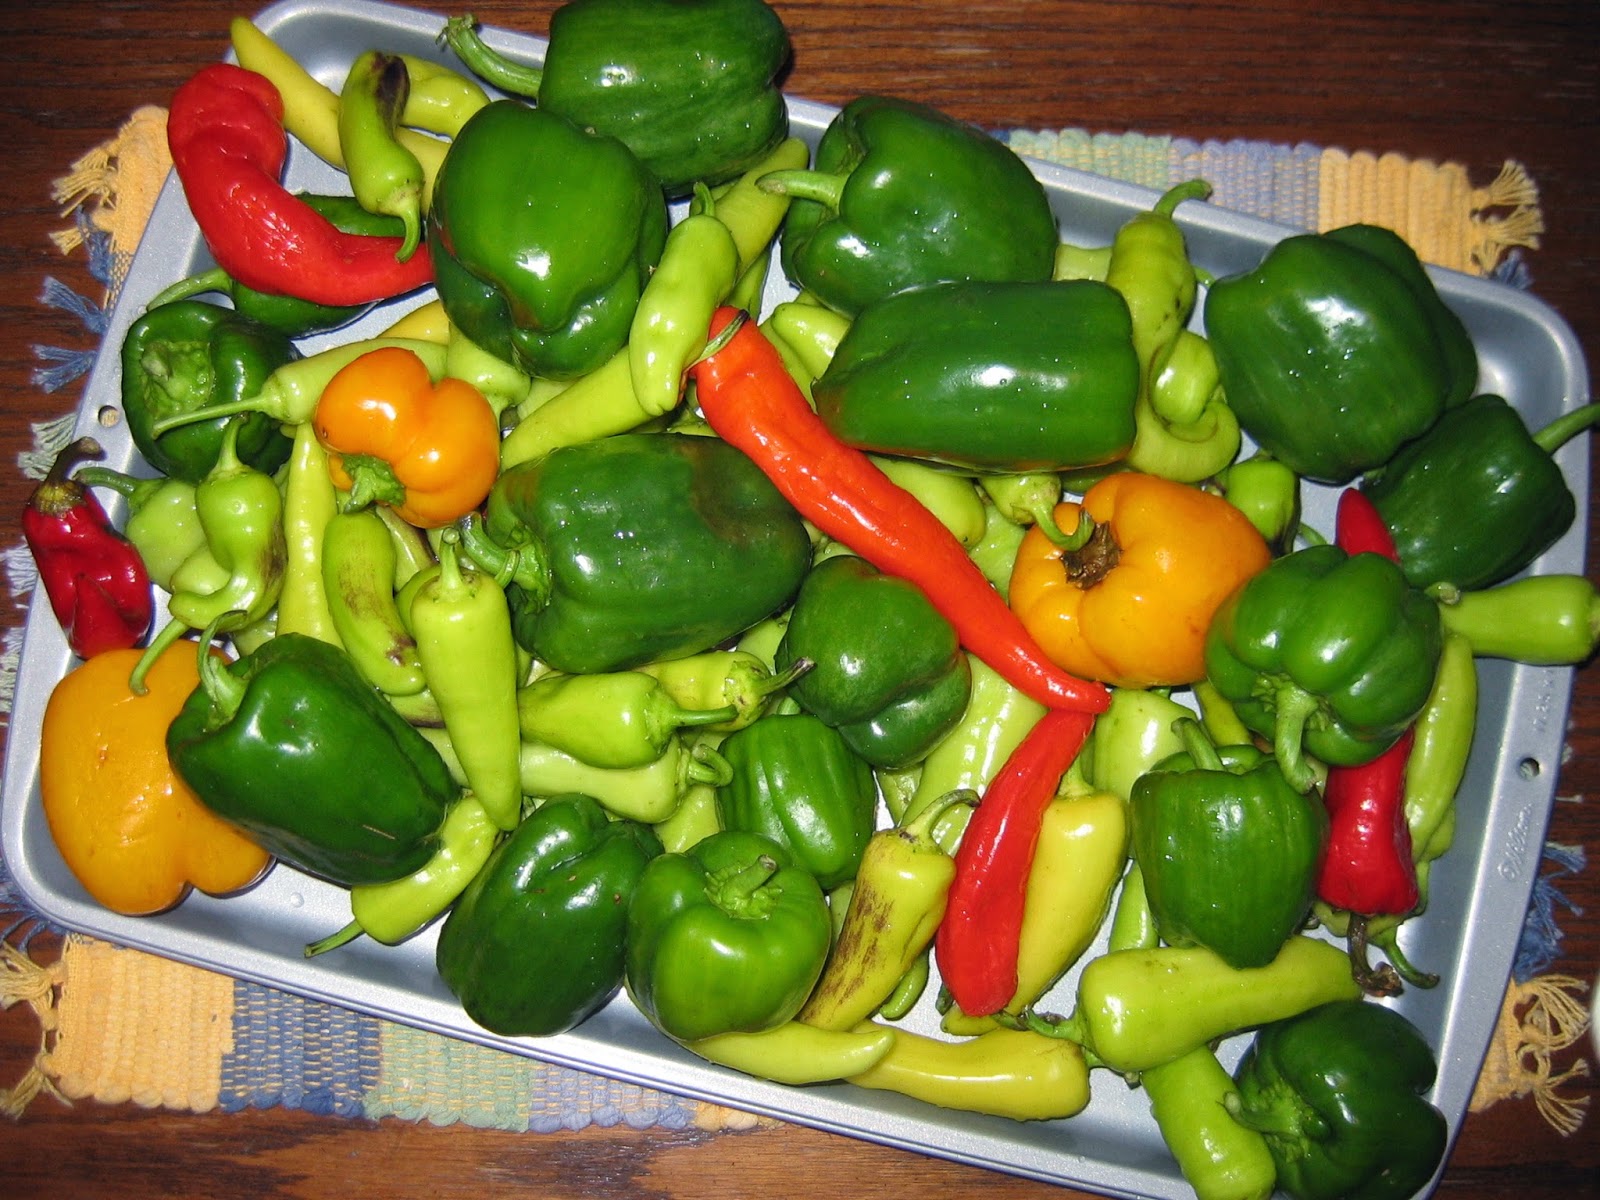
Not too long ago, I brought in a nice batch of peppers to put away for winter use. This year I am freezing sweet peppers mainly for pizza toppings and pickling banana peppers to put on our sandwiches.
To start with, I'll give you a glimpse of how I freeze my sweet peppers. It's really pretty simple.
After washing them up, I cut around the core in order to pull out the seeds. I then cut them into thirds with the contour of the pepper. I used to dice them up when I froze them fresh. Now I just leave them in their thirds since they are so easy to break or chop into different sizes when frozen.
If you have the time to chop (which I didn't this year), I would suggest blanching them. If you add this extra step, you will help stop the enzymes that cause the breakdown of nutrients. To do this, simply chop the peppers into the size you wish to use them as, drop them into boiling water for 2 minutes or steam them until tender, and then cool them in ice water for the same amount of time to stop the cooking process.
Whether blanched or prepared fresh, I then spin the water off of them to help them freeze nicer and bag them up.
My favorite method of bagging things for the freezer is to portion out meal size portions into sandwich baggies and then place these into a gallon zip lock, which I will reuse and redate from year to year. I have found this keeps my foods easy to use, keeps them from being frosted, and is more economical than lots of smaller freezer bags.
And that's that. I love to pull out sweet peppers for not only our pizza toppings, but also for casseroles, stir fry, or other dishes!
Another favorite way to preserve peppers is pickling banana peppers. This is a tad bit more involved, but it is well worth it for me.
After washing these peppers, I prepare them by slicing off the top and stem, running a slit lengthwise down the pepper, and using my finger to slide out the seeds. The pepper is then cut in rings. I used to remove the seeds without slicing the pepper so that I would have true rings, but that didn't last many batches after considering the time it took. If you don't mind your peppers a bit hotter (I prefer as mild as I can get), you can also leave the seeds in.
Here are my peppers, all sliced up.
The next step is to let them soak in a cool salt water bath. This helps keep your peppers crisp when they are canned. I prepared 12 cups of peppers so I used 1 cup canning salt dissolved in 12 cups of water.
I just combine my salt, water, and pickles in the pot I will be cooking them in, and stick it in the fridge overnight.
The following day, when I get around to it, I finish preparing them. I thoroughly rinse and drain my peppers and set them aside while I prepare the rest of the ingredients. Using the pan they had been soaking in, I combined 2 cups water, 6 cups vinegar, 3 T sugar, and 2 cloves of garlic. I then simmered this for 15 minutes.
Once it was done simmering I discard the garlic cloves, brought the liquid to a boil, and added in the peppers so they could heat before packing them into my jars.
The jars were packed, the hot liquid was added until 1/4 inch of head space, and lids and rings were put on. Finally, I processed my jars in a boiling water bath for 10 minutes.
And there you have it, pickled peppers to be used throughout the year, a great addition to many sandwiches, as pictured in this post!
The next pepper preserving recipe I would like to try is pepper jelly for our pork chops. Anyone have a blue ribbon recipe? :)
 Follow
The Beginning Farmer's Wife on Facebook for additional personal peeks at building a family farm.
Tools of My Trade
The recipe for my pickled peppers was adapted from this preserving guide, which includes the complete instructions and process as well as many more wonderful recipes!
This little salad spinner is perfect for spinning
water out of peppers and berries for freezing, which greatly improves the quality of
the frozen produce. Not only that, but it is wonderful to spin batches
of lettuce from the home garden, helping the lettuce to last longer in
the fridge.


